- Create volumes on your storage and map to this volumes to your hosts.I created two volumes.One of them repository disk(at least 1 gb) and the other volume is data disk.I used this datadisk on my environment for root disks.The size changes on your environment,like lpar number

- Login on your VIOS run cfgmgr and lspv to see your free disk.
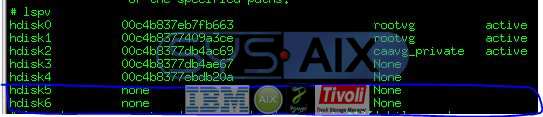
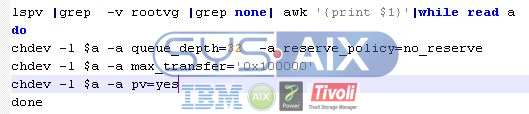
- And doing some configuration and give a PVID number on your newly created disks.I have got one VIOS on my environment.
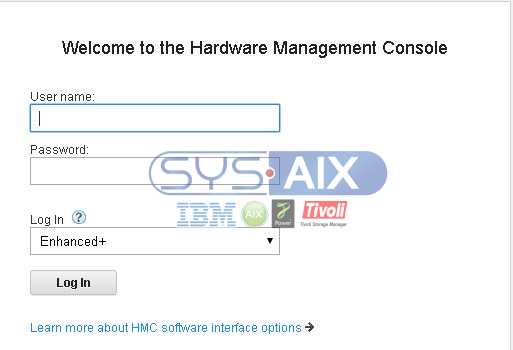
- If you are using Hardware Management Console(HMC) with 8.3 or above,you can create Shared storage pool on your hmc.But you should choose Enhanced+ interface to your login.
- Click the Resources on your hmc.
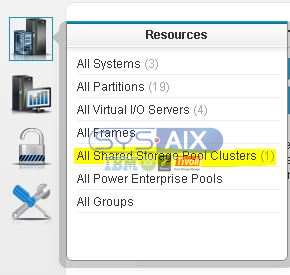
- Click All Shared Storage Pool Clusters.And then click on “Add shared storage pool cluster”

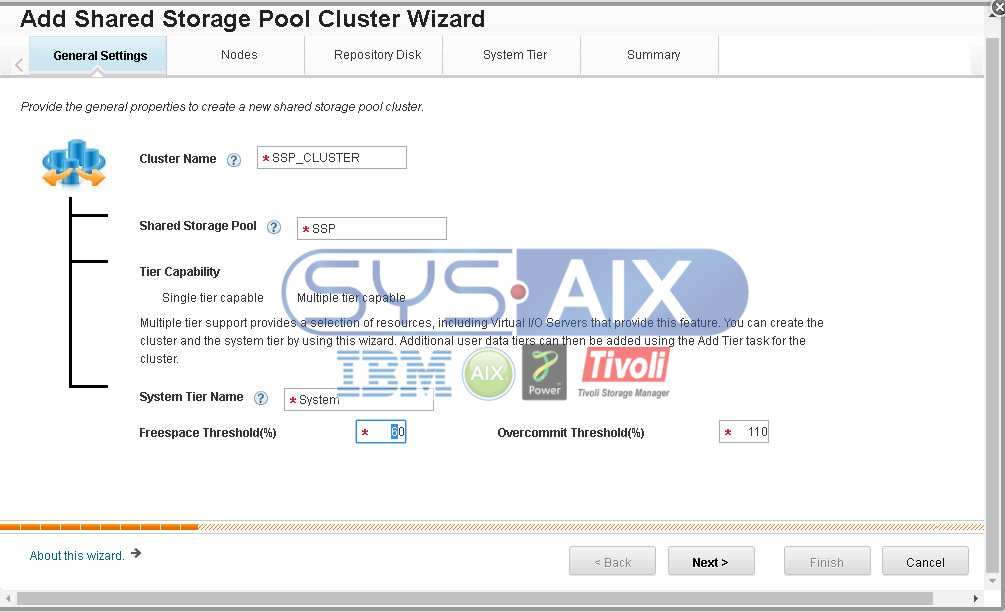
- You can see “Add shared storage pool cluster wizard” and should write required information and press “Next”
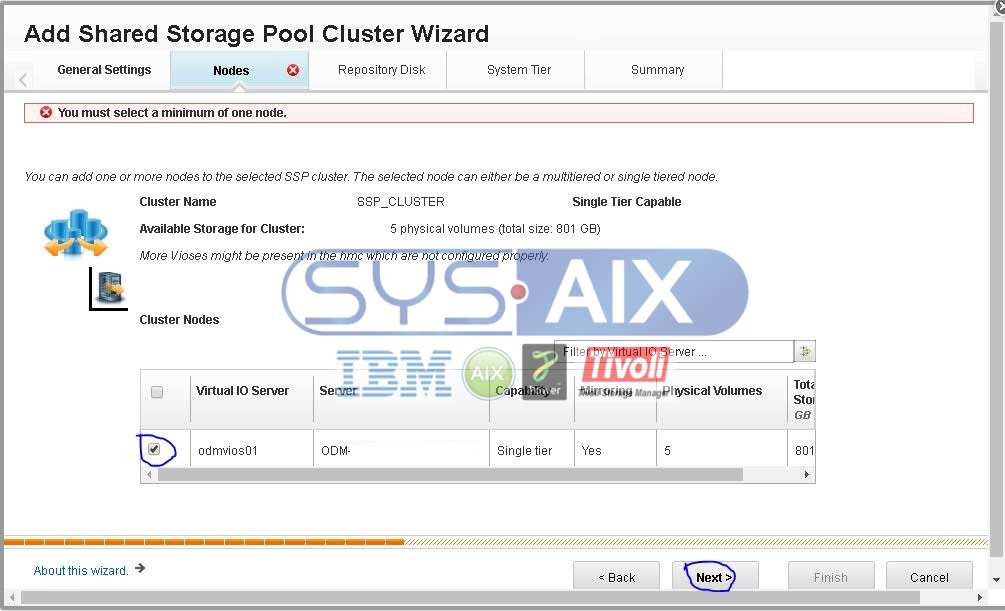
- Next step,add your VIO server to Shared storage pool cluster (SSP) and click “Next”
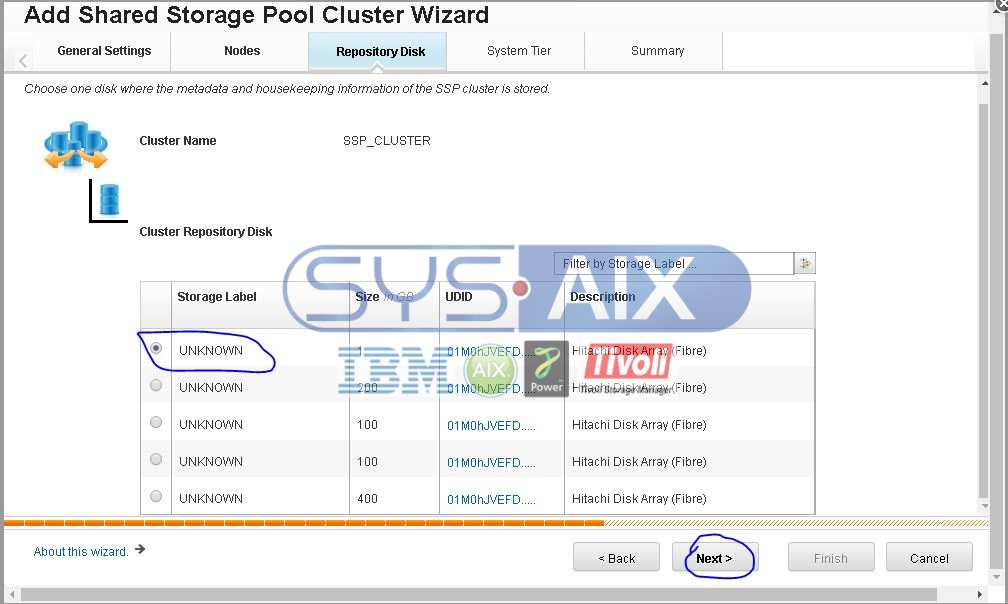
- New wizard,select your repository disk, you can see your formerly created disks.You have to check your disk size and click Next
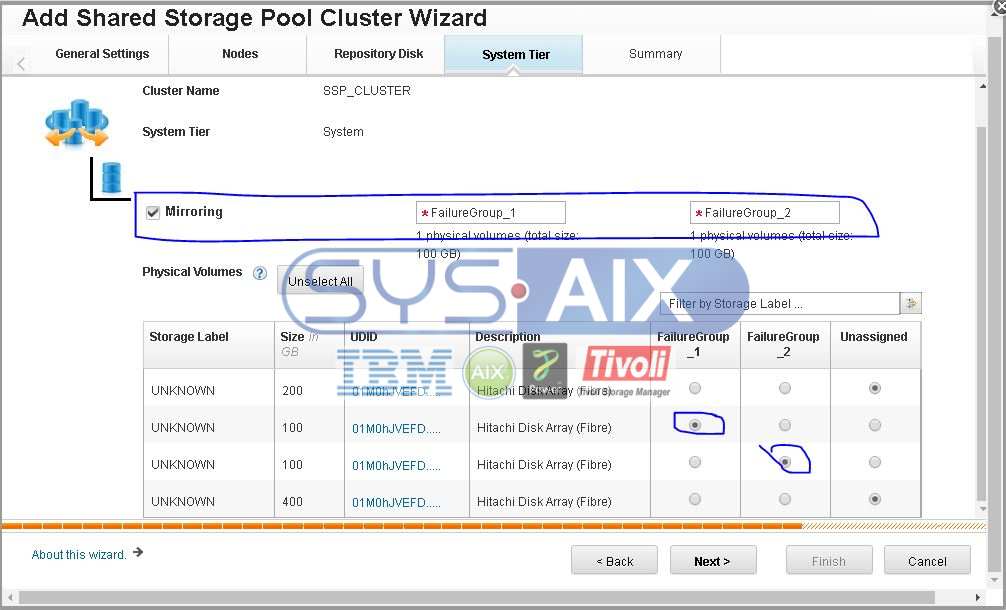
- In this page select your data disks to store your lpar volumes.If you want to use mirror data disk,You have to click Mirroring button.And select your failure group disk. On the other hand you dont click Mirroring button.Click Next
- This is the Summary page.Check your information and click Finish

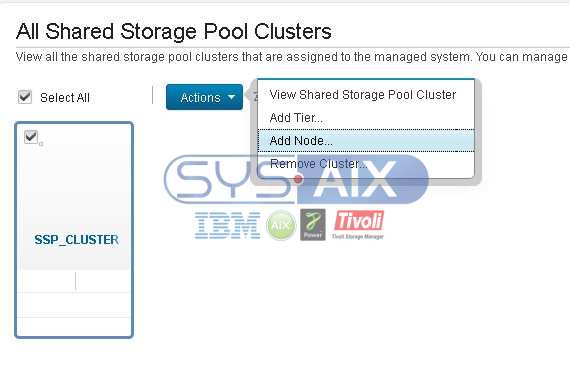
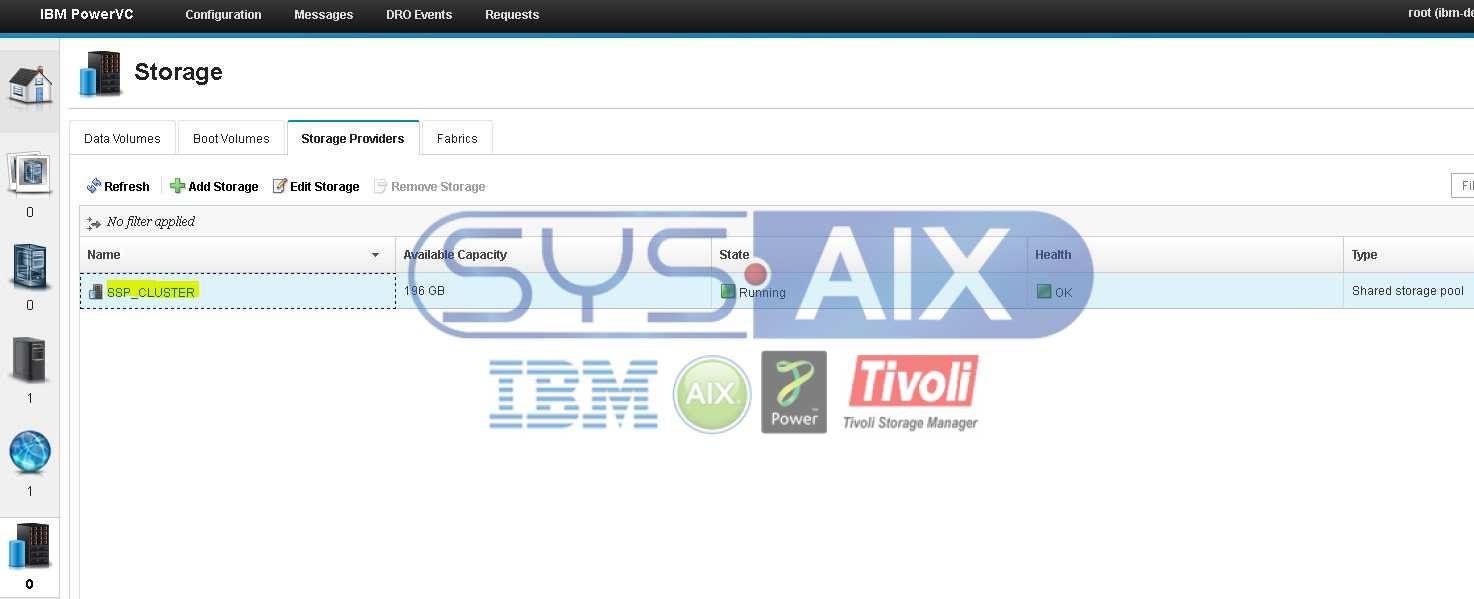
- Click again Resources and select All shared storage pool cluster and the newly created SSP cluster will get displayed as shown below

- If you add another VIOS on your SSP click your SSP Cluster name and click the Actions tab.
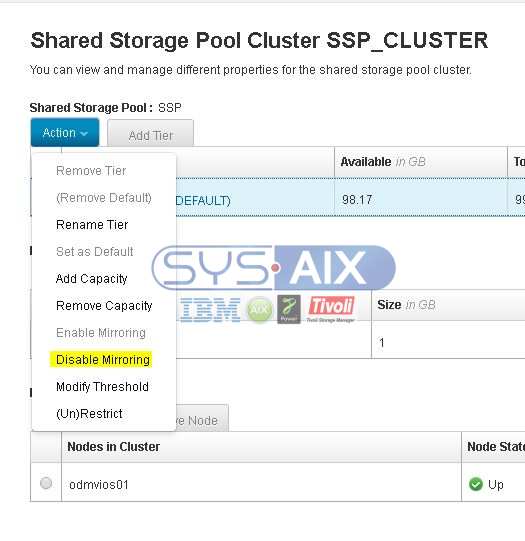
- Maybe you want to disable mirroring on your Shared Storage Pool.Click SSP name on your HMC.And select your tier and click Actions tab.
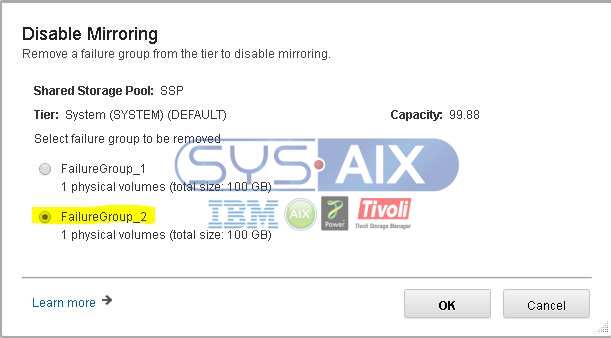
- Next wizard,Select your failure group
- Add capacity your SSP;In the navigation pane, click Resources,All Shared Storage Pool Clusters and your SSP Name
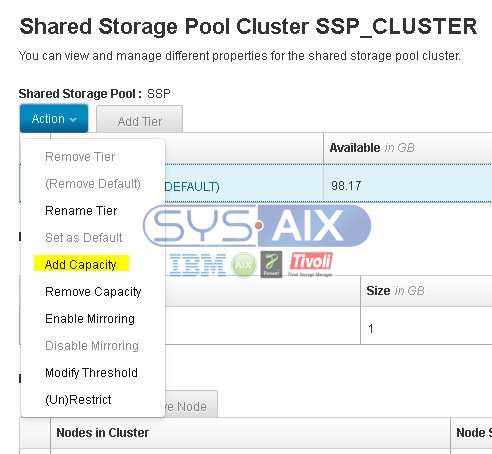
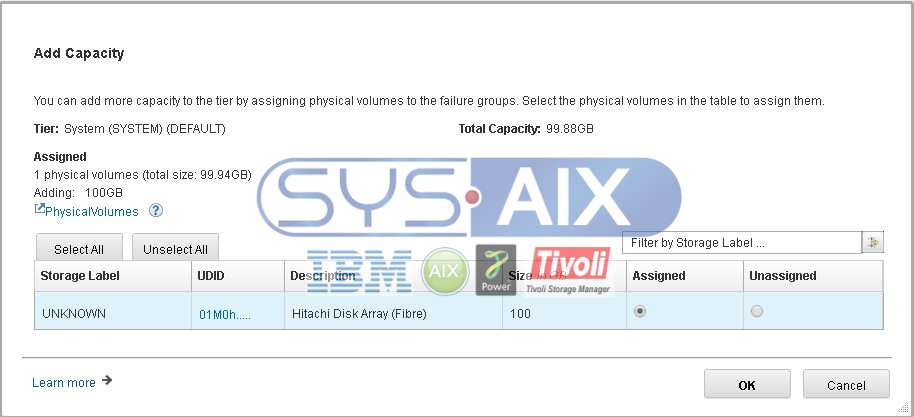
- Next wizard,click the Actions tab and Add Capacity button and Select your free disk as shown below;
- If you have any questions, please add a comment or send me an email.You can see my email adress on Contact tab or Linkedin profile as shown below.


